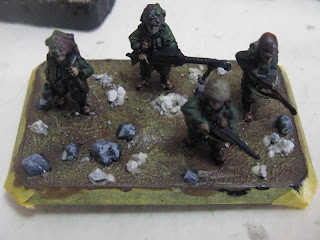
A lot of people said the bases were looking very nice so I'm doing another step by step with pictures.
I start by painting the miniatures as best I can. This is only my third set in quite some time so I'm not that good at it yet. I've primered the base black along with the minis at first and used masking liquid to keep the holes clear of paint so that the plastic glue can work it's magic. After it's settled I use epoxy putty to close the gaps and sculpt some rocks and a small bulge to mix things up. I then masked the edges because I want them to stay black.
I paint the ground brown and the rocks gray and add highlights with drybrushing.
I glue some intermediate rocks.
Should have glued the tufts at this point.
Making small random patches of glue I add the medium brown ballast and fine gray ballast. I bet all sorts of other particulates will also be fine. The idea is to get some randomness and different sizes of small ground detritus.
I add some particles where I think they're needed.
I neglected to take a picture of it again but I wash the whole thing with a dark shade to give it some unity.
I dab some more random patches of glue and sprinkle flock.
Again, with static grass.
Glue some clump foliage.
I glue some tufts.
IMPORTANT NOTE: I now think that the tufts should be glued after painting the dirt and before starting the flocking because their bottoms are flat and with a bunch of stuff in the way they may stick out above small rocks and look out of place.
GLUE TUFTS AT BEGINNING! (after painting, before flocking).
And there we go.


No comments:
Post a Comment